
Cellular concrete (often sold under the names Siporex or Ytong) is a porous, lightweight, and brittle material. Drilling into cellular concrete without damaging it relies on a simple principle: limit vibrations and control the pressure applied to the material. A poorly chosen drill bit or mistakenly activated hammer mode is enough to cause the edges of the hole to splinter, or even to crack the block deeply.
Drilling cellular concrete without hammering: the adjustment that changes everything
The first thing to remember is that the hammer function must remain disabled. Cellular concrete contains neither hard aggregates nor metal reinforcements. Activating the hammer function on the drill equates to pounding a material that poorly absorbs shocks. The result: a flared hole, surface chips, and a plug that won’t hold.
A standard drill-driver is sufficient for most common drilling tasks. For larger diameter holes (for conduit or pipe), a variable-speed drill without activating the hammer mode remains the right choice. Knowing how to drill cellular concrete starts with this initial setting, even before touching the drill bit.
The rotation speed should remain moderate. Spinning too fast unnecessarily heats the bit and tears the material instead of cutting it. A light and steady pressure, without forcing, results in a clean hole.
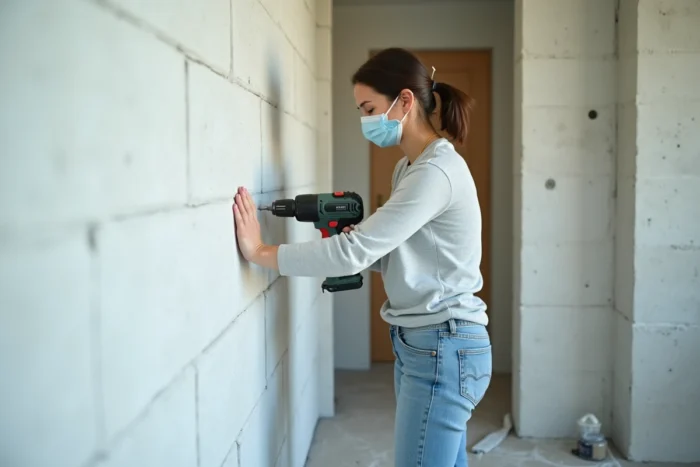
Drill bit for cellular concrete: which type to choose based on diameter
The choice of drill bit directly depends on the target diameter and the type of fastener planned. Three scenarios commonly arise in practice.
Small holes for standard plugs
For light-duty fasteners (frames, shelves, rods), a standard concrete drill bit with a carbide tip works, provided that drilling is done without hammering. The diameter of the bit must exactly match the diameter of the plug indicated on the packaging.
Medium diameter holes
For heavier fasteners or expansion plugs, a multi-material bit offers better control. Its cutting geometry, less aggressive than an SDS bit, limits chipping on a soft material. Again, no hammering.
Large holes for conduits or pipes
Beyond a certain diameter, the standard bit is no longer suitable. A carbide-tipped hole saw mounted on a drill allows for clean cutting of the material. The hole saw operates at slow rotation and produces a circular hole without fracturing the surrounding block.
- Standard carbide bit: suitable for small diameters, always without hammering, light pressure.
- Multi-material bit: preferable as soon as the diameter exceeds that of a common plug, as the cut is more gradual.
- Carbide-tipped hole saw: reserved for conduit or pipe passages, mounted on a slow-speed drill.
Drilling depth and perpendicularity: two common mistakes
Cellular concrete is unforgiving of angle approximations. A hole that deviates from perpendicularity widens the entrance of the hole and reduces the contact surface between the plug and the material. On such a soft substrate, this loss of contact directly translates into a fastener that moves or pulls out under load.
To maintain a right angle, press the drill firmly against the wall before starting, then advance without tilting. Some DIYers use a square pressed against the surface as a visual guide. The gesture may seem trivial, but on cellular concrete, the difference between a straight hole and a slightly oblique hole can be measured by the holding strength of the fastener.
The depth of the hole also deserves special attention. Drilling a few millimeters beyond the length of the plug allows residual dust to settle at the bottom without hindering insertion. Marking the desired depth on the bit with a piece of tape remains the simplest method to stop at the right moment.
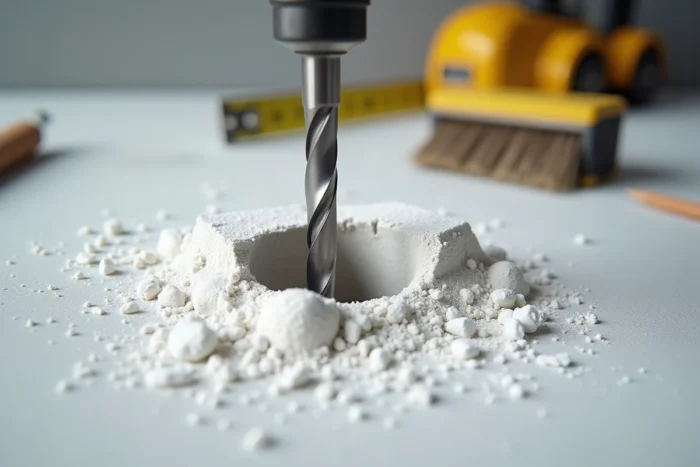
Cleaning the hole before fastening: a step often overlooked
Cellular concrete produces fine and abundant dust during drilling. This dust, if left in the hole, prevents the plug from expanding properly or compromises the adhesion of a chemical anchor.
Cleaning is done in two steps. First, brush with a pipe cleaner or a small brush inserted into the hole to dislodge residues stuck to the walls. Then, blow (using a bulb or mouth) to expel the detached dust. This double operation takes a few seconds and significantly improves the holding strength of the fastener, especially with a chemical anchor.
- Brush the inside of the hole with a pipe cleaner suitable for the diameter to dislodge compacted dust.
- Blow into the hole to remove detached residues, directing the airflow towards the bottom.
- Visually check that the walls of the hole are clean before inserting the plug or injecting the resin.
With a chemical anchor, a poorly cleaned hole significantly reduces the anchoring strength. The resin adheres to the dust rather than the material, creating an invisible weak point until the fastener is stressed.
Light fastening on cellular concrete: adapting the plug to the substrate
The type of plug matters as much as the quality of the drilling. Standard expansion plugs, designed for solid concrete, perform poorly in a porous material. They exert a point pressure that can crack the block.
For light loads, specific plugs for hollow or cellular materials (often recognizable by their wings that deploy behind the block) offer a more suitable load distribution. For heavier loads, a chemical anchor with an injection sleeve remains the most reliable solution: the resin penetrates into the cells of the cellular concrete and creates a solid mechanical anchor after curing.
The choice does not depend on the exact weight of the object to be fixed, but on the nature of the stress. A kitchen cabinet that undergoes daily vibrations (opening and closing doors) requires a more robust anchor than a static load of equivalent weight. Adapting the plug to the substrate rather than to the stated load avoids most pullouts observed on cellular concrete.